The Beelogger project is really great.
But: Since my house is automated with homeassistant, esphome, a lot of ESP32s and my bee-hives are in WIFI-range, I decided to rebuild the beelogger-functionality on esphome basis.
Additional arguments for realizing it with an ESP32 instead of an Arduino or STM32 might be:
- more CPU power
- more RAM & flash (up to 8 MB RAM & 16 MB flash)
- integrated WIFI
- probably less power consumption when using deep sleep modes
- A DSP for audio analysis
- more ADCs with higher resolution (depending on the ESP32 variant used)
- a built-in RTC
- the comfort of esphome:
- OTA updates
- a built-in automated connection to homeassistant
- a webinterface on the device
- no complex sketches to maintain, just a .yaml-config
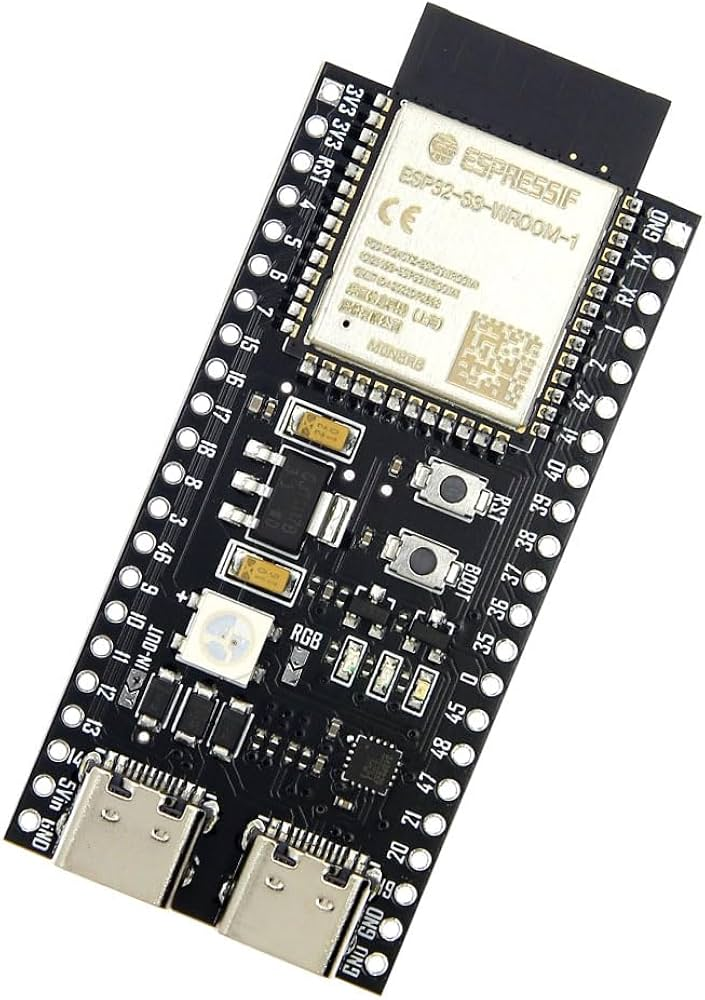
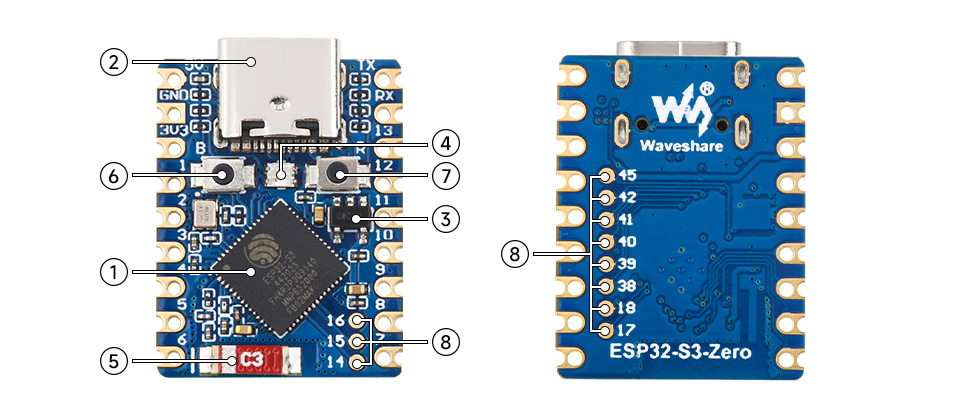
Desicion: I’m going to use an ESP32-S3-N16R8 and / or the ESP32-S3-Zero
The ESP32-S3-N16R8 provides:
- a dual-core 32-bit microprocessor with 240 MHz
- 8MB of additional PSRAM and 16MB flash,
- 2.4 GHz Wi-Fi (IEEE 802.11b/g/n) and Bluetooth® 5 (LE)
- An hardware RTC
- Two general-purpose SPI ports
- Three UARTs
- Two I2Cs
- Two I2Ss
- Pulse counter
- Two 12-bit SAR ADCs, up to 20 channels
- Four 54-bit general-purpose timers
- 52-bit system timer
- Three watchdog timers
- DSP-hardware
- Four power modes designed for typical scenarios: Active, Modem-sleep, Light-sleep, Deep-sleep
- A lot of GPIOs 🙂
It’s the currently most powerful ESP32, its hardware should be more than enough for the task 😀
The Zero variant will be used when there are just a few PINs needed.
Realizing it will be a major project, but probably also a lot of fun 🙂
The TODOs I see so far, I’ll realize them in single test projects:
- get all the desired sensors working properly
- write an external component for esphome for the audio-analysis
- write a component for esphome for the bee counter hardware
- write a component for esphome to connect to the beelogger-server
- care about the power management
- logging to SD-card/flash
- properly wiring it all up at the end, making it electronically fail safe, soldering it onto a prototype-board
- install everything in proper cases with proper connectors and install it in a bee hive
- realize additional ideas, they will for sure come up when working on this project 😉
Leave a Reply